*This post may contain affiliate links. As an Amazon Associate we earn from qualifying purchases.
Having an Availity login allows you to manage multiple healthcare plans at once from a single
account. To log in to Availity, you need to follow this list of simple steps and have an account.
Availity Login Guide
This guide is intended to help you or your business to register with Availity, and use your Availity
login whenever you deem it necessary. The information is intended to help you use Availity’s
services to track medical information, service plans, and care for members in a way you couldn’t
alone.
The Importance Of An Availity Login
The Availity Portal allows you to use your Availity login to manage multiple health plans from a
single online account. Availity balances your healthcare data, the medical history of members,
and payment plans.
Availity’s intention is to connect healthcare providers and plans. That way, healthcare providers
can have quick access to a new member’s medical data. They can then adjust possible medical
treatments appropriately. It also allows them to track prices, and stay informed about repayment
history.
Availity can also update you about changes in medical status’ in the last year that might be
otherwise overlooked or ignored. This helps to provide accurate medical information. Even if a
patient switches medical providers the new health plan provider will still be informed about
recent changes in health status so that they can offer appropriate options to the new patient.
It also makes it easy to receive new appointments. It can allow health plan members to share
information about payers who are subject to risk adjustment easily, as well. Getting an Availity
login requires a few simple steps, which are detailed here.
In short, Availity does a lot. It provides a database for medical information which health plan
providers can quickly share to know more about a payer’s medical history and potential health
risks. It allows members to track the payment history of payers; even across health plan
providers. This informs you of how well their previous provider was paid for their services.
And it provides a secure email server you can use to receive and distribute messages to your
company and to your payer, employees, and so on. The point of Availity is to make tracking
your business’ data easier, so a login can be a simple way to help streamline your health care
business.
Creating an Availity Account And First Time Login
You can’t use Availity’s features until you create an Availity login. To begin with, access their
website, Availity.com. You should see the options to register or login in the upper-right corner. If
this is your first time, then its recommended you choose to register.
Registration
You will be prompted to enter your first name, last name, and your primary role in the medical
plan process. These are all essential fields, but your role can determine your level of access to
Availity. Therefore, make sure you enter your information correctly. Finally, presented with back
and next options, you should click next to proceed.
Your Email Is For Security
The next page will prompt you to enter an email address and a username. Enter your email
address first, and use one you have regular access to.
If you have a company provided email or business email, it’s better to enter that, rather than a
personal email address. Availity may send you a confirmation email to ensure your email
account is active when the process is done.
The Username Is Your Personal Identity On Availity
Your username is how the website itself will refer to you. It doesn't affect your actual identity but
works as a sort of nickname for online security, so simply enter something you feel comfortable
with.
When clicking next, you’ll be prompted to select a captcha. These are unique images, and your
job is to select the keyword (example: cars) wherever it appears in the image. You then click
verify, and it checks to see if you’ve selected all the cars across the multiple square images.
This is a security measure to prevent automated bots or hackers from creating fake accounts. If
you miss a square or fail to match all the criteria, don’t worry. It will simply ask you to repeat the
process, possibly giving you a new keyword or new images in the process.
Your Company’s Identification
On the next page, you will be prompted to enter your organization’s tax ID. After that, you must
choose either EIN (employment identification number) or SSN (social security number) to
identify which your ID number is.
The second line will ask you to enter your National Provider Identifier. All HIPAA covered
providers who bill Medicare are required to have an NPI of some kind. Click next when
completed.
The next step of your Availity login is to enter your company’s name, as well as its phone
number. You will then be prompted to enter data relating to your company’s physical location,
such as street address, city, state, and zip code. You can edit this information later if the
company’s physical location changes.
Your Organization’s Role
You will then be asked for the company’s primary specialty or taxonomy, which is required. A
drop-down bar may appear; if so, choose the option that most closely describes your business
and what it does. It will also ask if there are additional specialties, but this entry is optional.
The Location Of Business
The final entry on this page is for the payer’s regions, which indicates where your organization is
contracted. This allows Availity to scan for nearby providers who are a part of their network, or
who may be associated with you, which it will bring up on the next page.
Availity may also use this information when payers are linked to your business. When their
information is entered, it may check to see if their address is within a reasonable distance from
your payer region. This information is mostly used for identifying local business affiliates,
however.
Partners And Affiliates In Your Area
Once you click next, you’ll be brought to a new page. This page prompts you to indicate any
organizations your company is affiliated with in the area. Simply click the checkbox next to any
applicable businesses.
You only need to click affiliates that you recognize on the list. If an affiliate is missing from the
list, or you are not associated with any of them, you can move on without providing that affiliate
or clicking any of the checkboxes on screen.
Security Email Services For Your Organization
Availity will then ask you if your organization needs to exchange batches of EDI files from your
system to health plans. If you do, select confirm and you will receive a Security File Transfer
Protocol (SFTP) mailbox on Availity’s server.
This mailbox can receive mail from your payers or members, and inform you of payment history.
It also allows you to send secure emails to your patients or employees. Several of these
processes can also be automated for your convenience.
Information About Existing Patients To Prove Your Integrity
The next page prompts you to enter the information of two patients to ensure you are a
healthcare provider. For this, enter their health plan, their first and last name, their member ID,
and their date of birth. Make sure to do this twice, once for each of the two patients.
In the next window, it will ask you to provide check information from a payer. First, select a
payer, and the later options should appear. Enter the primary tax ID in the entry below payer
options. Then, enter the check trace number. Make sure to include the check amount and date
as well.
Review
Click next. Finally, you should be brought to a review screen in which it asks you to confirm all
the data of your Availity login. Once you click confirm, it will send an email to the account you’ve
listed for confirmation. Note that this can take several days to process.
Registered Members
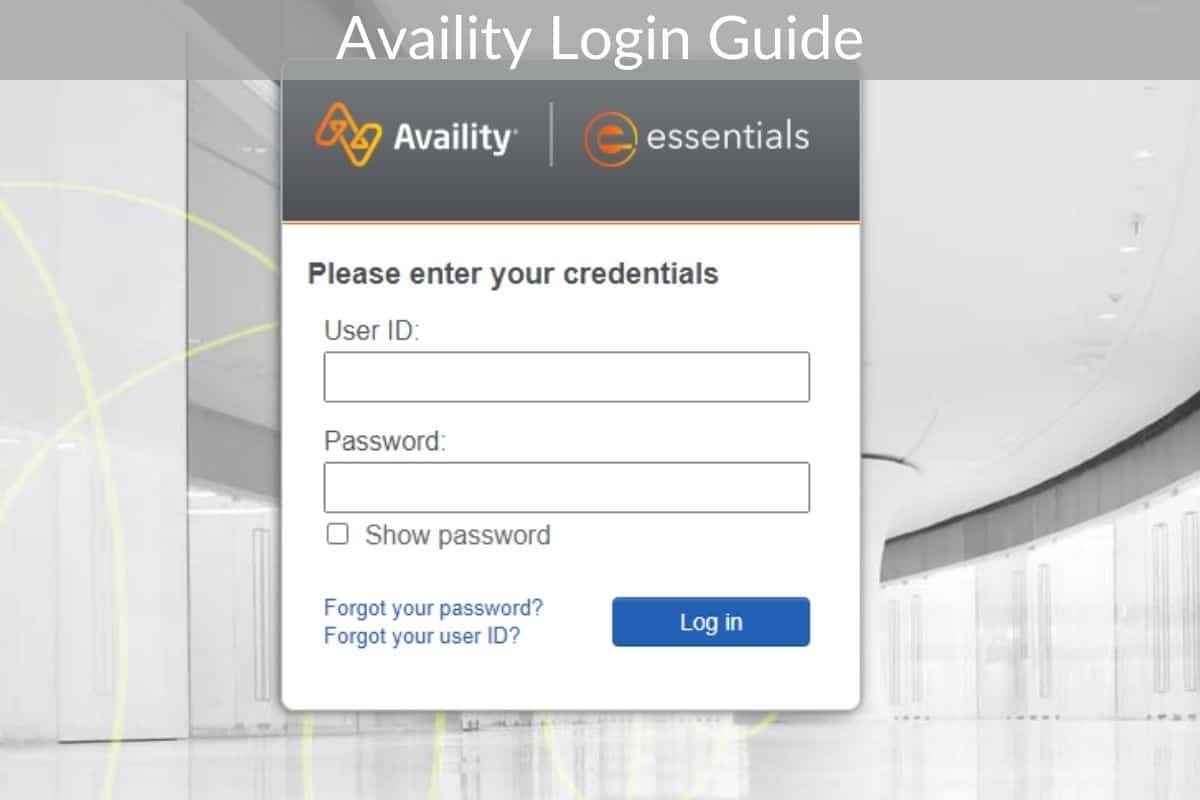
Logging in to Availity is easier if you are already a member. Navigate to Availity’s website, and
choose to log in instead of registering as a new member. The option is in the top-right, near the
registration button.
You’ll be prompted for your Availity username first, which is the personal ID you chose at the
beginning of the registration process. Next, it will ask for the password associated with your
Availity username. Once you fill in these two fields and choose to continue, you should be
finished with your Availity login.
Forgotten Availity ID
If for some reason you’ve forgotten your Availity login, you have two options to help you recover
it. If you have forgotten your username but remember your password, you can the hyperlinked
“Forgot Your User ID?” option. It will then send an email to your registered email account with
further instructions.
If You Forgot Your Availity Password
If you forgot your password, choose the “Forgot Your Password?” option. Upon entering your
username, click to continue and it will send an email to your account with further instructions.
Once you choose to receive an email to reset the password, the old password is deleted. You
will need to develop a new password, so it’s recommended to only use this option as a last
resort.